
 by
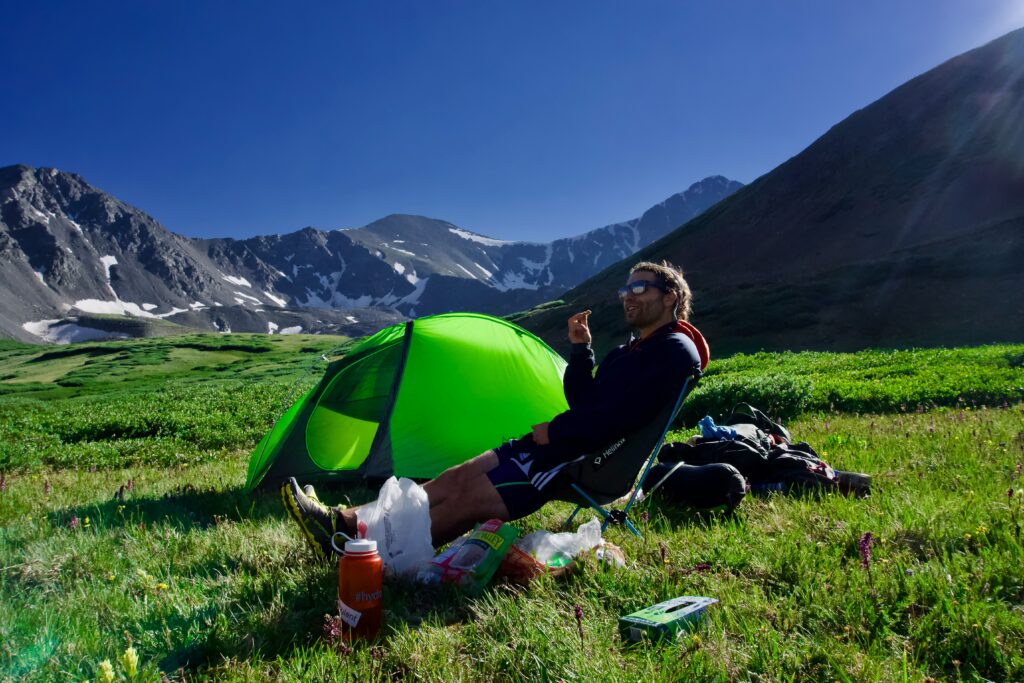
by Do you have a box of partially used isobunate canisters that you don’t know what to do with? Backpackers and other camping afficianados – this is the device you’ve been waiting for! Now you can consolidate your partial canisters and take only full isobutane fuel canisters on your next backpacking endeavor. You no longer need to worry about running out of fuel on your next trip and you can empty and recycle your newly emptied canisters!
How can you consolidate camp fuel? Using this amazing little gadget called FlipFuel. I admit that I went through a bit of a learning curve before I learned to appreciate this little device. But now that I know how to use it, I think it’s awesome! So this post is about FlipFuel and how to use it.
If you find the information below more useful than anything else you read so far, please help this page to get more views. Share this article with your friends and link back to it in your blogs. Write your own articles about the same subject. Let’s kick out all the useless and misleading information from appearing on the first page of Google. The more people know about how easy it is to consolidate fuel and recycle fuel canisters, the better we will all be.
Why use FlipFuel?
I can give you two main reasons to using FlipFuel:
- Consolidate your partial camp fuel cylinders into full canisters. As FlipFuel says, “Don’t pack a halfie.” Use FlipFuel to consolidate your partially used isobutane canisters into one full canister. When you go backpacking, you want to be sure you’ll have enough fuel for your entire trip. You end up buying new fuel canisters because you know a full one will last the 9 days you’re on the trail. But how many days will your used one last? Now you don’t have to worry about that.
- Recycle empty fuel canisters. This is an extra bonus for the environment. You can recycle your newly empty isobutane canisters! Refer to this post about where to recycle your camp fuel. FYI you’ll need to puncture a hole in your fuel canister. Here’s how you do that safely and easily.
Pros and cons of using FlipFuel
The FlipFuel device obviously has two huge main pros: You get a full canister of fuel for your backpacking trip and you save the environment by recycling your empty fuel cylinders. But using FlipFuel appropriately was a steep learning curve for me. Therefore, I’m sharing this post to help you in your FlipFuel journey. Here are some of the hardships to expect when learning to use FlipFuel:
- It’s a steep learning curve to find the ideal transfer conditions
- Its’a another steep learning curve to control how much fuel you actually transfer between cylinders
- Each transfer takes a bit of time and planning because you need to create extreme temperature differences between the receiving and sending fuel canisters
- Once fuel transfer is complete, there will still be excess fuel in the newly “empty” cylinder that you’ll need to burn off
What you need to use a FlipFuel
- 2 or more partially used isobutane fuel canisters
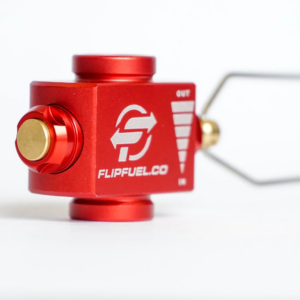
- FlipFuel device
- Small kitchen scale
- Freezer
- Source of heat (like the sun, Vegas summer, or electric indoor heater) – NO FLAME
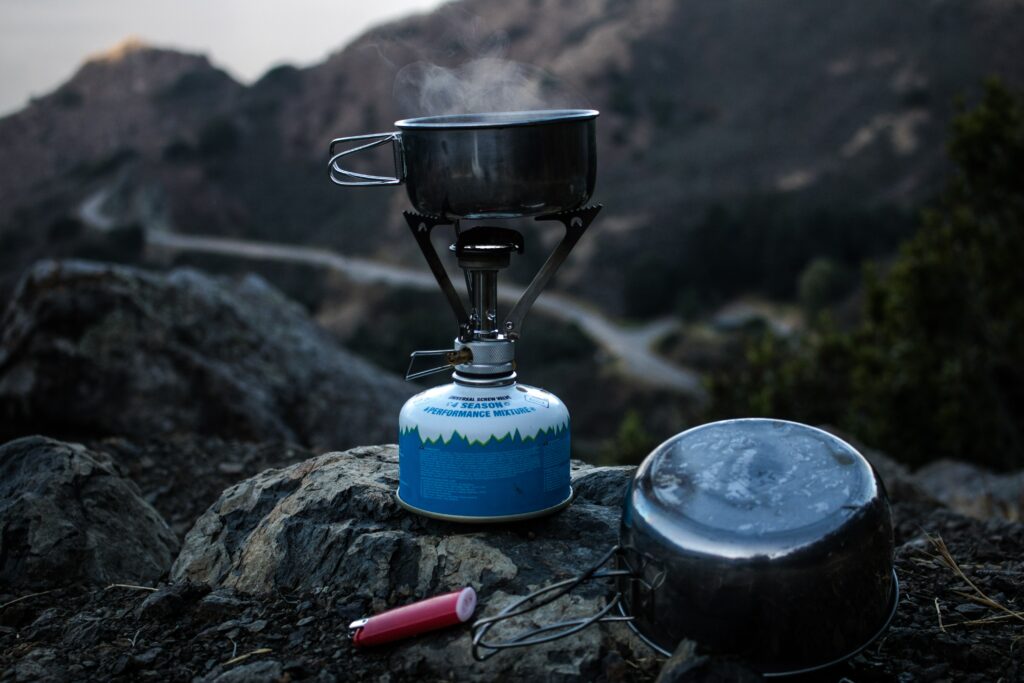
- Backpacking stove with lighter/igniter to burn off excess fuel and completely empty fuel canister
How to use the FlipFuel device
The package says it’s a few easy steps: Create a big temperature difference between the sending (hot) and receiving (cold) fuel canisters, connect the device between the two canisters, turn on the valve to transfer fuel.

Simple, right? In reality, there are a few factors that you need to consider before starting the process. It was a long learning curve for me and I got frustrated a few times before finally figuring it out. Hopefully the following tips and tricks will help you in your FlipFuel journey.
Tips and tricks for using the FlipFuel device
The first factor is temperature differences between the sending and receiving canisters. You need time and patience to let the receiving canister chill and the sending canister heat up. In winter or on cloudy days, this is harder than you think. The second factor is to figure out how much fuel you need to transfer before overfilling the canister. To avoid frustration, refer to my suggestions below.
#1 Create extreme temperature differences between the receiving and sending canisters
The directions say to place the receiving canister in a “cool, shaded area.” Nope. That’s not cold enough! You really literally need to place the receiving canister in the freezer for a few minutes! It won’t work otherwise. Trust me, I tried.
Heating up the sending canister during a summer heatwave is quick and easy. Simply place it in the sun for a few minutes. But how do you heat it up when it’s cold outside? This was very frustrating for me during last year’s cloudy winter. I couldn’t figure out any safe way at all to heat up the sending canister. Remember, gas canisters are combustible so you need to keep them away from open flames! If you can place the sending cylinder near an electric heater (no flame, no spark) in your house, try it and let me know how it goes. I don’t have that luxury in my house so, to be honest, I ended up waiting for hot summer days to proceed with the transfers.
In my summer experiments, I found out that a hot canister will NOT send much fuel to a canister in room temperature. And a canister in room temperature will NOT send any fuel to a freezing canister. You really need to freeze the receiving canister and heat up the sending canister. Conclusion, and I cannot stress this enough: You absolutely need to create extreme temperature differences between the canisters!
#2 Work outside and wear a facemask
Safety tip. Wear a facemask to avoid breathing in the gas fumes and work outside in a place with circulating fresh air. Similar to a backpacking stove, each time you screw the flipfuel device on and off the fuel canisters, some gas fumes will escape to the atmosphere. There’s no way to avoid that, so take safety precautions.
Once all the possible fuel transfers, there will still be excess fuel in the sending canister. If you and your neighbors don’t mind a little lingering gas smell in the air, you can completely empty the excess fuel using the “vent” feature on the FlipFuel device. To avoid the smelly gas, connect the nearly empty cylinder to a backpacking stove and burn off the excess fuel.
#3 Vent as needed
If you overfill your receiving canister, you can easily release excess fuel usign the “vent” feature on the FlipFuel device. Leave the FlipFuel device in place and press and hold the VENT button to release the extra fuel. Make sure the release hole faces away from you or you’ll dowse yourself with gas.
#4 How do you know when a canister is full?
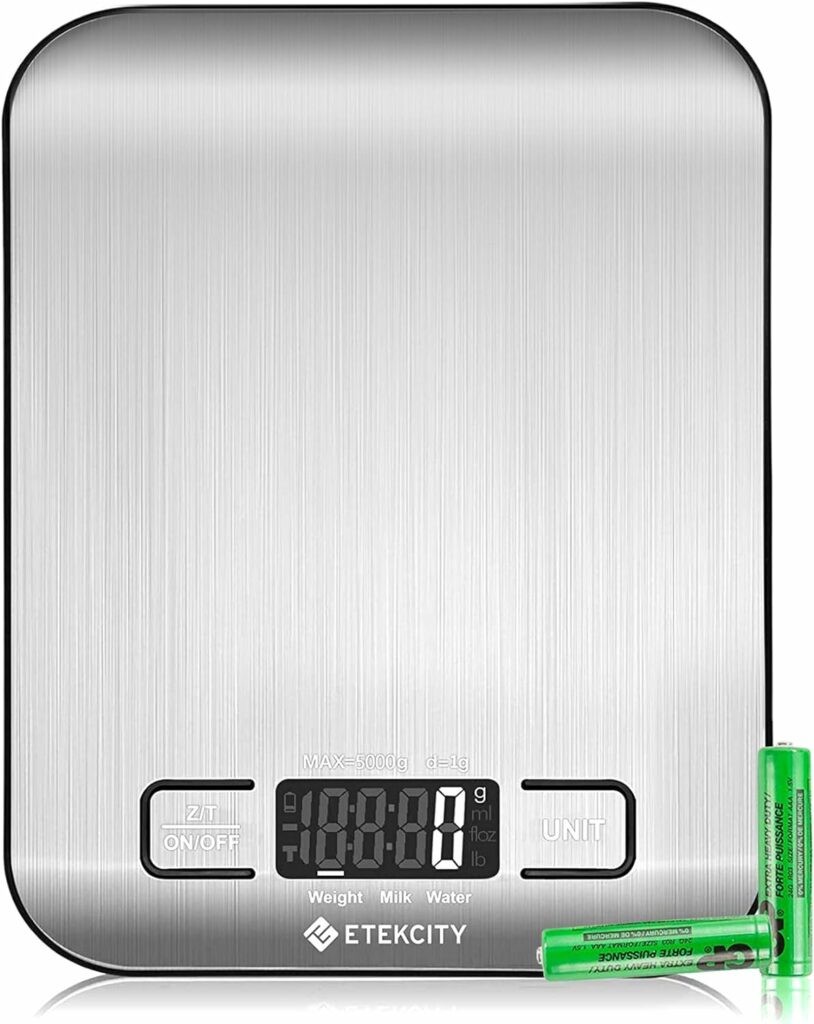
You need a kitchen scale. No ifs and or buts. A kitchen scale is indispensable! It doesn’t have to be this one sold by FlipFuel, but you have to use a kitchen scale. There’s no other way to tell when a canister is full.
Even with a kitchen scale, there’s a bit of trial and error here. The FlipFuel device will not tell you when it’s time to stop the fuel transfer. The only way to know when a canister is full is to place it on a kitchen scale to weigh it. If the canister is overweight, then you overfilled it.
Here are the steps I take to consolidate camp fuel using FlipFuel and a kitchen scale:
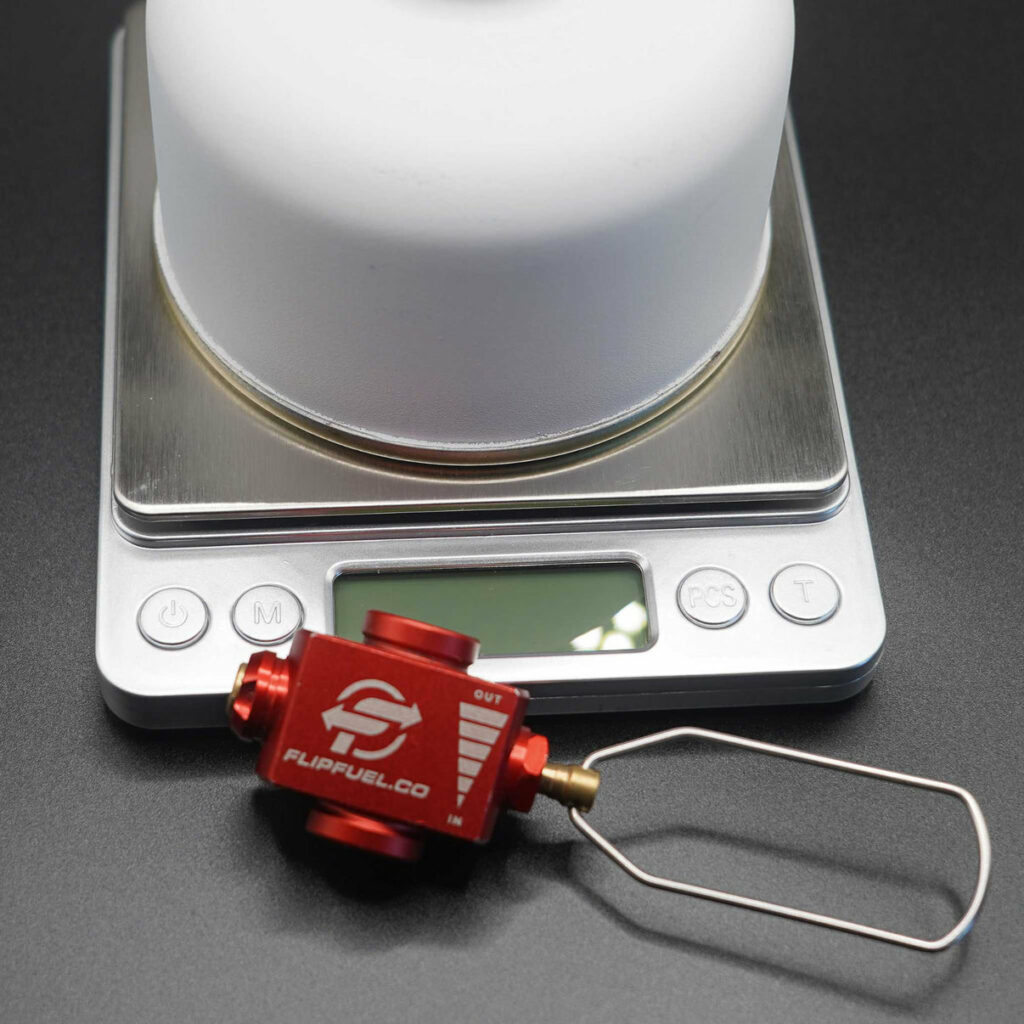
Step 1. Turn the scale on
Step 2. Place the receiving (cold) canister on the scale
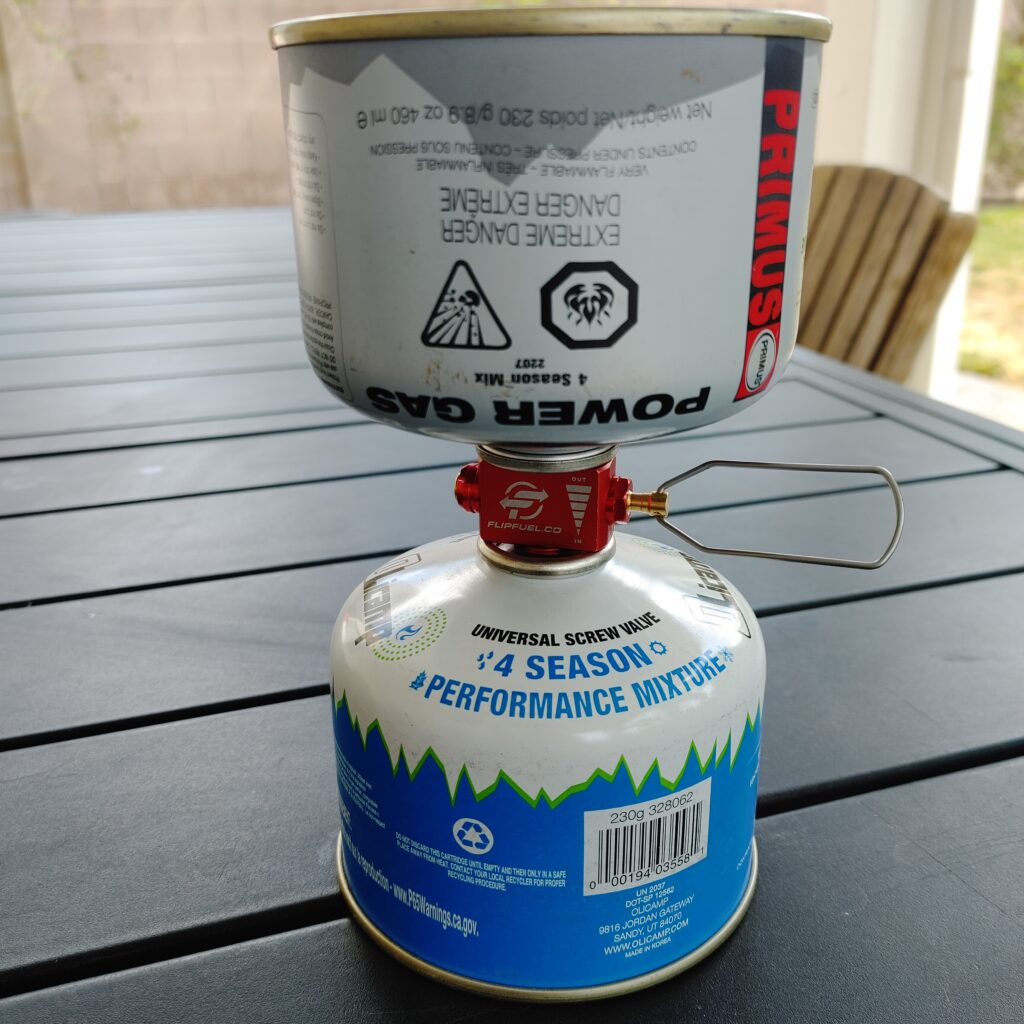
Step 3. Screw in the FlipFuel (the correct way is written on the device so it’s hard to mess this up)
Step 4. Turn the sending (hot) canister upside down and screw into the other side of the FlipFuel
Step 5. Open the valve and listen to the fuel transfer.
Step 6. When the device goes silent again, then the transfer is complete. Close the valve and unscrew the sending canister from the device.
Step 7. This is when trial and error begin. Without taking off the FlipFuel, check the weight on the scale. If it’s underweight, add more fuel from another canister. If it’s overweight, vent.
EXAMPLE using 230g canister
Let’s say we’re filling a 230g isobutane camp fuel canister. When full, a 230g canister actually weighs 380g. The FlipFuel device adds another 35g to the total. So your target weight after filling the 230g canister, with the FlipFuel still attached to it, is 415g.
Empty 230g canister (150g) + FlipFuel (35g) + 230g of fuel = 415g
Check the weight of the receiving cylinder to figure out roughly how much fuel you need to transfer to it. In the picture below, the receiving canister weights 276g. When full, it needs to be at 380g so you need to transfer roughly 100g of fuel.
Let’s say your sending cylinder is another 230g canister. When you put it on the scale, you find that it actually weighs 250g. That means it has 100g of fuel inside.
Partial 230g canister weight (250g) – Empty 230g canister weight (150g) = 100g
In this example, you can safely transfer the entire contents of the sending canister to the receiving canister without fear of overfilling.
If the sending canister weighs 300g, then you risk overfilling. You’ll have to stop the transfer half-way, take off the sending cylinder from the scale, measure, and see if you need to vent or reattach and add more.

Why do I leave the FlipFuel attached to the canister to measure the target weight? Because chances are that you will not hit the mark the first time. Unscrewing and rescrewing the device onto the cylinder each time is frankly a waste of time and energy. When the device is already connected, if you need to add more fuel, simply connect another sending canister to it. If you overfill, vent and watch as the scale adjusts.
#5 Weights you need to know
FlipFuel device = 35g
100g isobutane canister (empty) = 100g
100g isobutane canister (full) = 200g
230g isobutane canister (empty) = 150g
230g isobutane canister (full) = 380g
Target max weight of 100g canister + FlipFuel device = 235g
Target max weight of 230g canister + FlipFuel device = 415g
Canisters that are bigger than 230g are useless for backpacking so I’m not mentioning their weights here. You can use them to transfer fuel to smaller canisters.
#6 Err on the side of too little rather than too much
Measurements aren’t always exact. There could be an eyelash on your scale skewing the actual true weight of your canister. To avoid this unknown, err on the side of too little weight rather than too much. If you get to 197g instead of 200g, that’s great. That’s basically a full canister.
#7 Once you’ve emptied a fuel canister, puncture it and recycle it
Here’s a great post we wrote about how to puncture empty fuel cylinders safely and easily. You don’t have to use this puncture device recommended by FlipFuel. You can simply take a hammer and Phillips-head screwdriver to it.
Please share this info!!
Though fewer in number, the pros of using FlipFuel greatly outweigh the cons!
Please help spread this information. Share this article with your friends and link back to it in your blogs. Write your own articles about the same subject. Let’s kick out all the useless and misleading info from the first page on Google. The more people know about how easy it is to consolidate fuel and recycle fuel canisters, the better we will all be.