 by
by “I’m planning a trip to the Grand Canyon and was told I should invest in walking sticks. I’ve never used them before. What should I do?” We get that question a lot! The truth is, if you’ve never used trekking poles before, they might feel very cumbersome and useless to you. But if you use hiking poles correctly, your body will thank you later. In this post, we’ll go over situations where you should use trekking poles and the different types of hiking sticks out there. Follow it up with this article about proper technique when using walking sticks.
Can I rent hiking poles?
Yes, that’s a great idea! You should rent trekking poles if you want to practice using them or if you’re flying and can’t fit them in your luggage. Outdoor gear shops near you or near your destination may rent them for exactly this purpose.
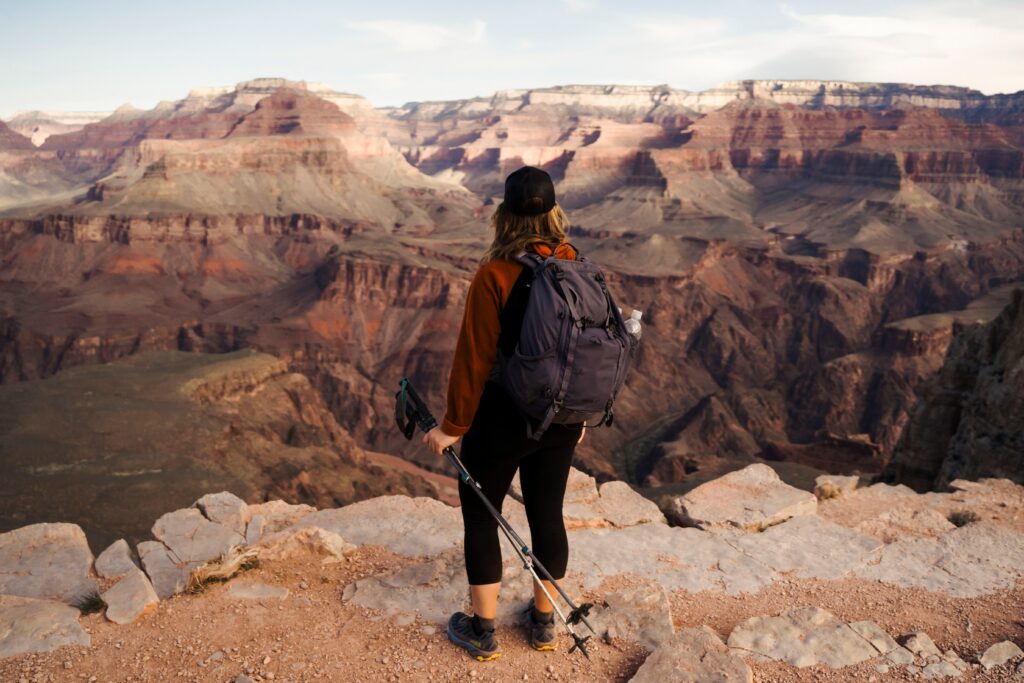
To answer the question from the introduction, yes, you should use trekking poles if you plan to hike into the Grand Canyon. But you don’t need to invest in new poles if you don’t think you’ll use them much in the future. Instead, you can rent hiking poles from Basecamp Outdoor Gear in Las Vegas.
FYI In the USA, you cannot board a flight with walking sticks in your hands. If you purchase trekking poles for your trip to the Grand Canyon, you should know that TSA does not allow them in your carry-on bags, so you have to fit them in your suitcase or leave them at home.
When and why should I use trekking poles?
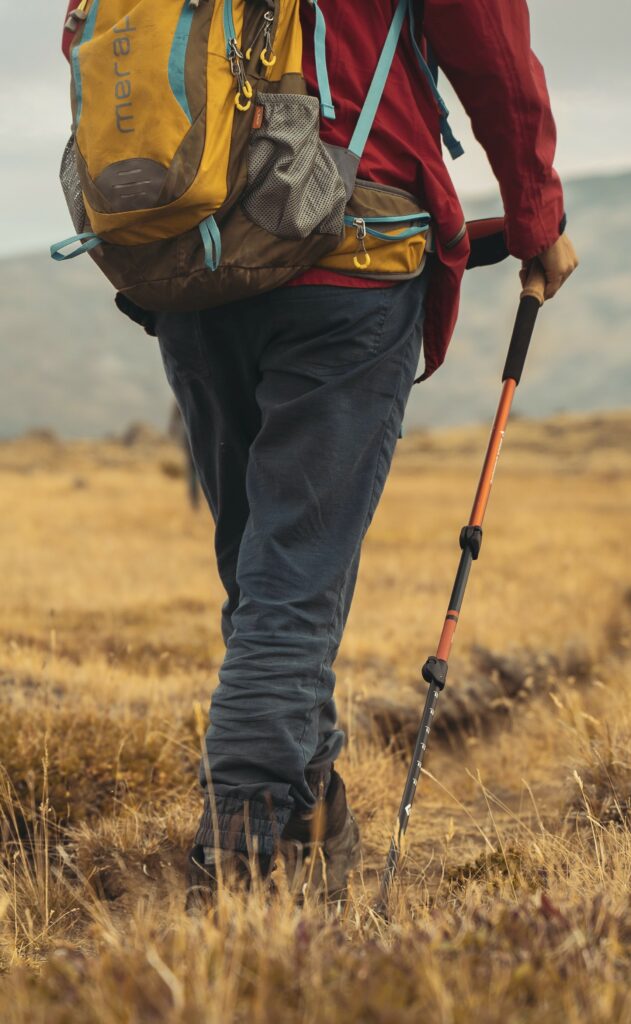
The function of hiking sticks, first and foremost, is to reduce strain on your knees. You might not feel a difference on your first hike with trekking poles, but future you will thank you! Another big reason to use walking sticks is for added stability on uneven terrain. That being said, there are four situations where we always recommend the use of hiking poles:
- When you’re walking long distances and/or when you’re carrying a lot of weight on your back (such as when backpacking to Havasupai)
- When your day hike involves a significant elevation change, such as summiting Griffith Peak (near Las Vegas) or hiking into the Grand Canyon
- When you’re walking on unlevel ground and need extra stability, such as river crossings or trails with slippery roots
- When your hike involves a lot of deep sand or snow, in which case you should use trekking poles with basket attachments
Are there any situations where I don’t need trekking poles?
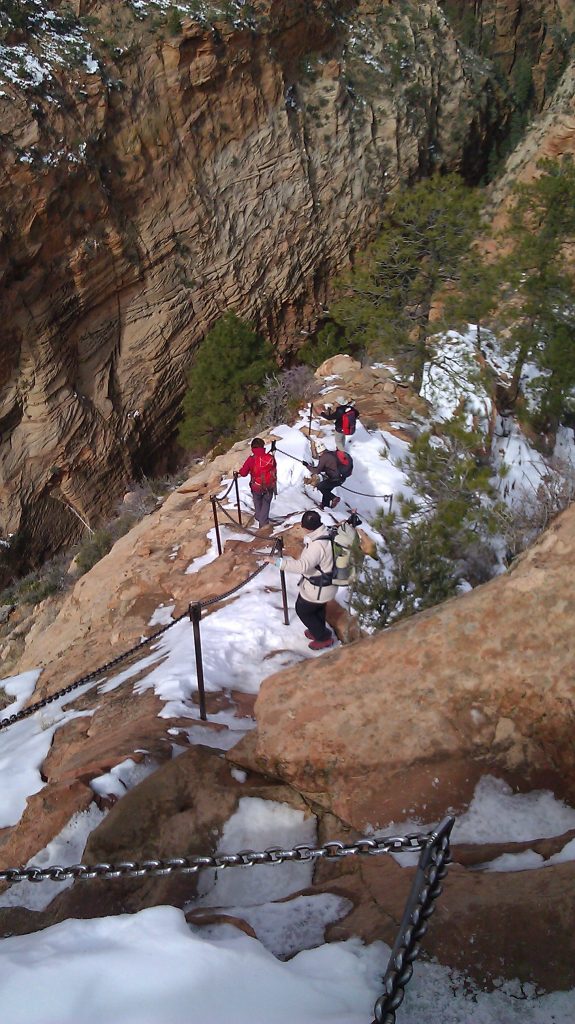
Hiking poles get in the way every time you need your hands to get over an obstacle. For instance, the final part of the hike to Angels Landing in Zion National Park. In this example, you need your hands to pull on chains to get through some parts safely. Having trekking poles hanging from your wrists will pose safety concerns.
Types of trekking poles and our thoughts about them
When you’re ready to purchase your own pair of trekking poles, the choice of styles and prices will overwhelm you. Don’t worry! Even though there are many types of hiking sticks out there, they generally fall into only three categories. Of course, within those categories are numerous sub-categories such as the material from which the trekking poles and their handles are made, the shape of the handle, shock absorbency, the various activities that the poles are made for, and more. We’ll get to that later.
Note: Most walking sticks are sold in pairs to keep both sides of your body balanced. But if you want to cut down on price and weight, you could make do with just one pole. It’s not ideal, but it will make a slight difference.
For now, let’s start with the three general categories of trekking poles and the pros and cons of each:
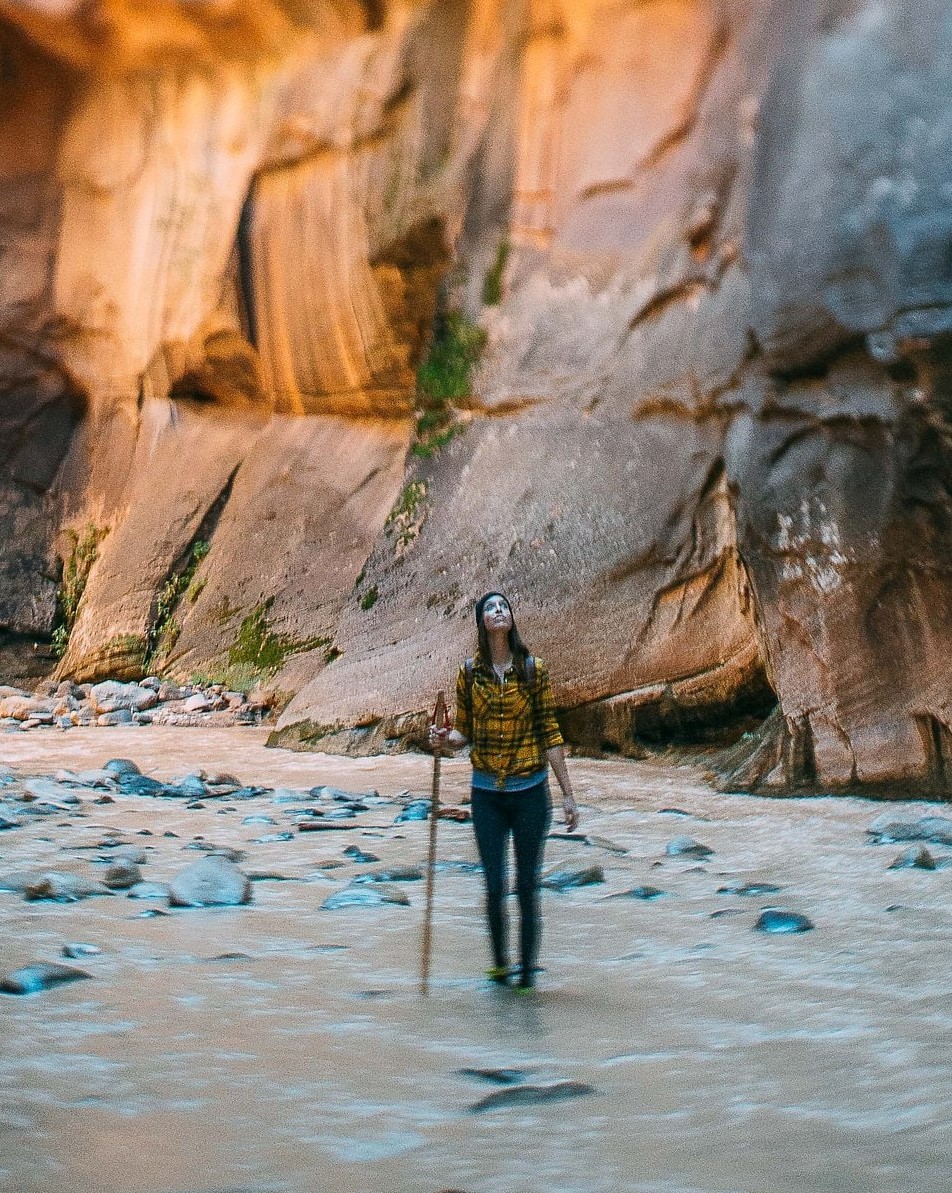
1) Hiking Staff
These poles are basically single long wooden sticks. Exactly as they sound, you cannot adjust them to your height and terrain. The best example of where these walking staffs come in handy is hiking the Narrows in Zion National Park. Don’t buy them for this hike, though, because you can rent them there.
Pros: They won’t malfunction while you’re out on the trail.
Cons: They won’t fit in a suitcase because you cannot fold them down.
Our thoughts: Don’t bother spending your money on these unless you’re a collector of handmade wooden sticks. In most places (Zion excluded) you can simply pick up a stick from the ground.
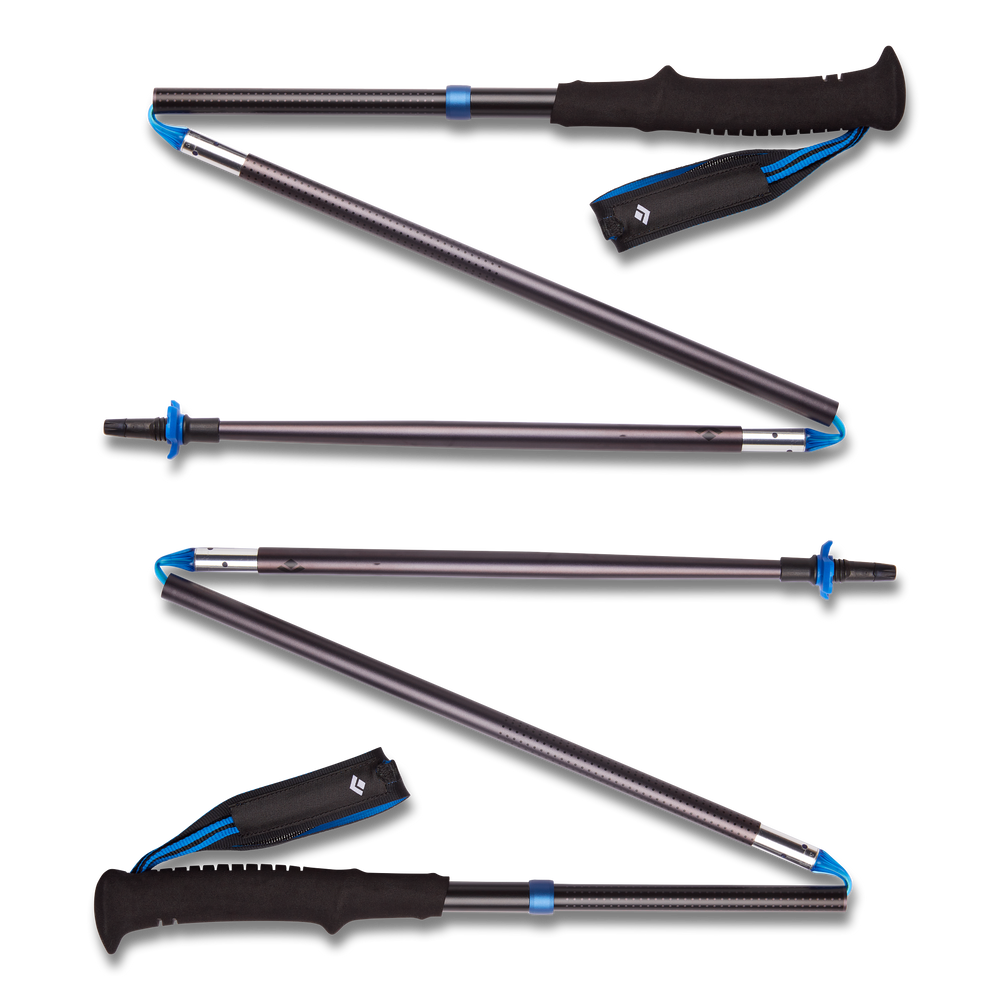
2) Foldable (z-fold) trekking poles
Foldable trekking poles are meant for experienced trekking pole users, backpackers, trail runners, and the like. They fold like tent poles, with a protected elastic cord inside. Here’s an example from Black Diamond.
Pros: They are lightweight and will fit in your suitcase or backpack no problem (but don’t forget them in your carry-on or they will be confiscated by TSA).
Cons: They are non-adjustable, so you have to purchase the length that works best for you. They are expensive. If they break, there is nothing you can do to fix it.
Our thoughts: Super cool, super quick, but highly specialized
3) Adjustable trekking poles
As the name implies, adjustable trekking poles adjust to almost any height that you need. You can shorten it when going uphill or lengthen it for the descents, which is a great feature and the main reason to get this type of pole! You’ll see many adjustable trekking poles on the market. The main differences between them are the material used in their construction and their locking mechanisms. Some also feature shock absorbency.
Pros: They are easy and quick to adjust and if they are compact enough they will fit in your suitcase.
Con: Over time the locking mechanism on your adjustable trekking poles may loosen or even break.
Our thoughts: This is the all-around trekking pole. If you’re just starting out as a novice trekking pole user, get the basic TrailBuddy trekking poles. A great upgrade is the Komperdell Ridgehiker. When you’re really ready to invest in high-performance trekking poles, you can try the Black Diamond Alpine. But honestly, at this stage, you may as well graduate to the foldable (z-fold) trekking poles.
Material of adjustable trekking poles
Usually, the lighter the material, the more expensive the poles. The difference between lightweight trekking poles and regular trekking poles is only a few ounces, so when you’re going short distances, weight doesn’t really matter. When you’re going long distances, you want lighter poles.
Note: There’s also a difference in handle material. You’ll find trekking pole handles made of either cork or rubber. There’s a minimal difference between the two that you won’t notice on short distances. But I will say that cork feels better.
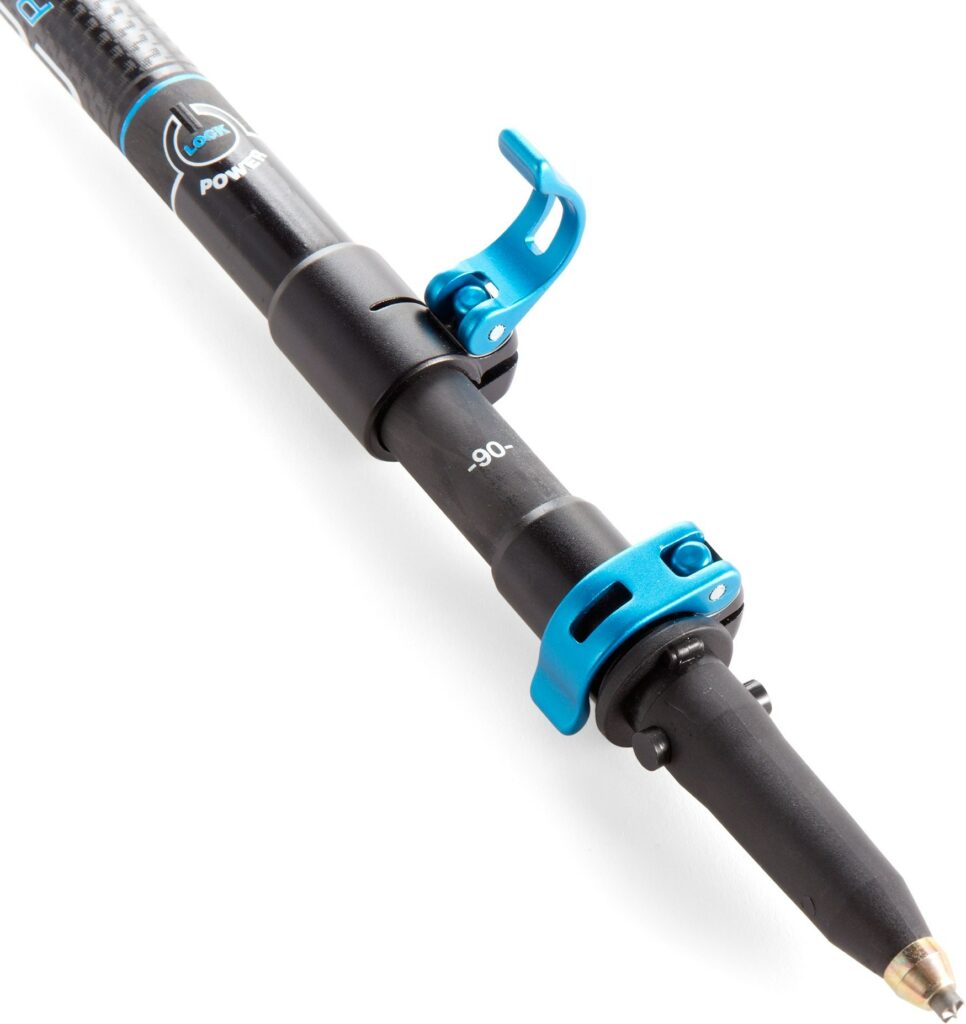
Locking mechanisms of adjustable trekking poles
My greatest concern is between the locking mechanisms of adjustable hiking sticks. Here are the two types you’ll see: Twist-lock and power-lock (external lever). To be completely honest, I do not at all recommend twist-locks! They tend to fail way too quickly. It’s easy to overtighten or lean on them with too much weight and break them. Once that happens, there is nothing you can do to fix it.
The power-lock system is my preferred type of trekking pole! This is an external push lever system, and it does tend to loosen with use, but it’s also easy to tighten it in the field.
Shock absorbency in adjustable trekking poles
The only reason to get walking sticks with shock absorbency is if you already have bad knees and elbow problems. It reduces stress on those joints just like shocks reduce the impact on mountain bikes. Don’t bother with shocks otherwise because they just add unnecessary weight to your poles and it’s another mechanism that can fail in the field.
Accessories for trekking poles: rubber tips and baskets
When you purchase trekking poles, make sure they come with removable rubber tips and snow/mud baskets.
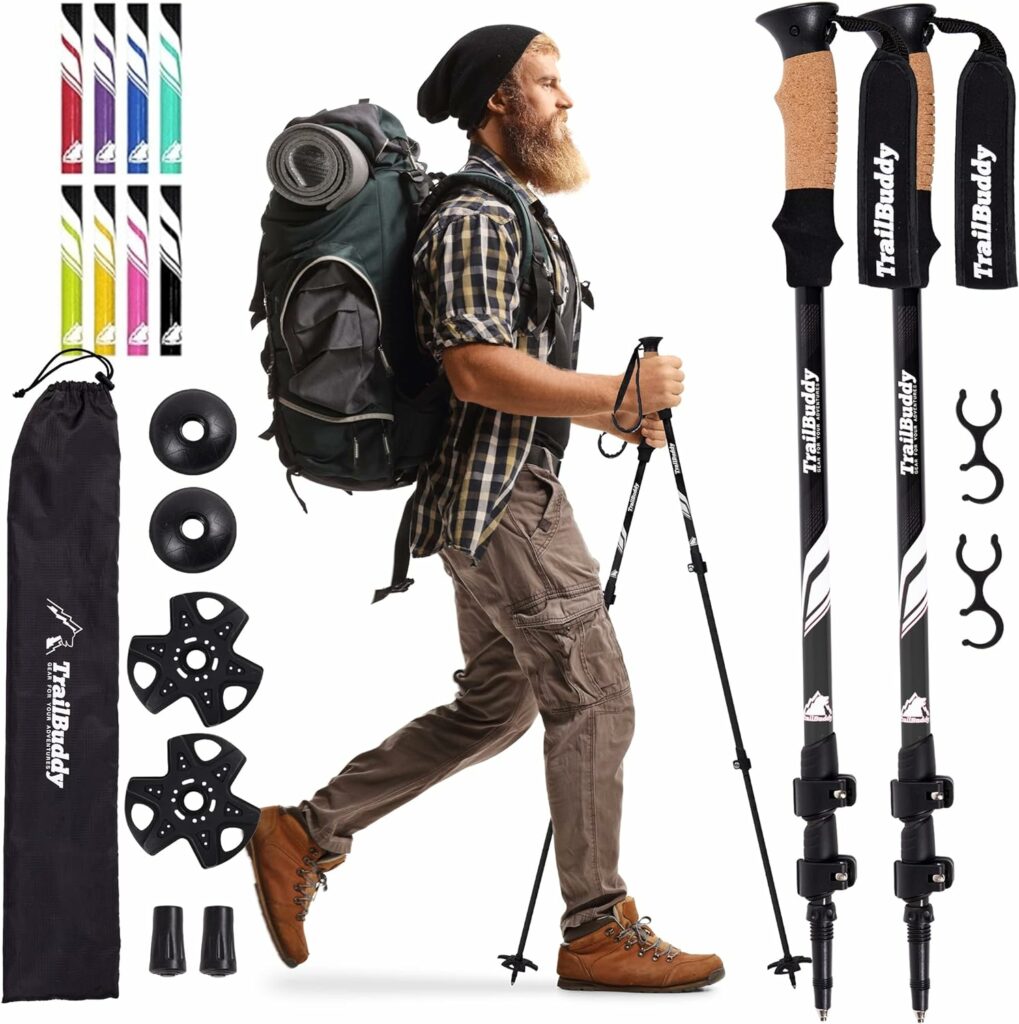
Rubber tips for solid surfaces
In most situations, you would use the default metal tip of your walking sticks because it slightly sinks into the earth for stability. But there are a few instances where you want to slip on their rubber tips. Namely, any solid surface where the metal tip does not dig into the ground and instead slips and slides around. Examples of this are the sandstone slabs of Delicate Arch in Arches National Park or the granite North Dome in Yosemite National Park. The rubber tips not only ensure that your trekking pole will stick to the ground for better stability, but also protect the rock from ugly scratch marks.
Note: You don’t want to use rubber tips all the time because they won’t propel you as well as metal on most surfaces, and they degrade and rub off very quickly.
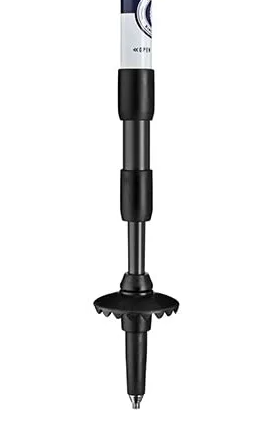
Baskets for mud, snow, and sand
You would use the removable baskets even less than the rubber tips, but they are nice to have. Just as the name implies, use them in muddy or snowy situations. Just like snowshoes keep you from sinking into deep snow, so do baskets keep your hiking poles from disappearing in snowbanks.
Note: Snow baskets also work well for deep sand, such as when you hike up to the top of Mesquick Sand Dunes in Death Valley National Park.
Summary
To sum it all up, we highly recommend that you use trekking poles in almost any hiking situation. The best trekking poles for beginners are adjustable with a power lock mechanism. Before investing in your first set of trekking poles, rent them from an outdoor gear shop near you so you can try them out. The staff in the store can also walk you through the proper use of hiking sticks, and you should also refer to this post about the dos and don’ts of using walking sticks.